Introducing our new Cricut Packing Tool
We've just put online a tool to optimise the amount of stickers you can fit into a Cricut print and cut layout automatically. It's free.
Don't want to read a load of boring, self serving chat? Find the tool here
One of my biggest purchasing regrets in the last few years has been the Cricut machine. Having come from the 3D printing world I jumped in expecting the same level of relative open standards which in turn meant I could find the software and tools that suited my work flows. Cricut obviously is locked down, and the machine itself is restricted by various DRM protocols which make using any sort of third party tool near on impossible.
This has meant for a long while now the Cricut machine has been sitting in the corner used on a rare occasion where I can deal with the frustration of opening up Design Space; the most common reason I'm using the machine at the moment is Stickers; but even this becomes a gawd awful process. If you use the inbuilt sticker tools inside Design Space you'll find it wants to basically use around 20% of the paper; so you'll find yourself positioning the stickers inside of a template of the print and cut boundaries, while then trying your best to optimise the positioning and angles to maximise yield. It's a process that makes me want to scream - so taking into account my neighbours wouldn't appreciate that I've created a small tool that uses some great open source projects to "pack" print and cut objects in a way that reduces wastage.
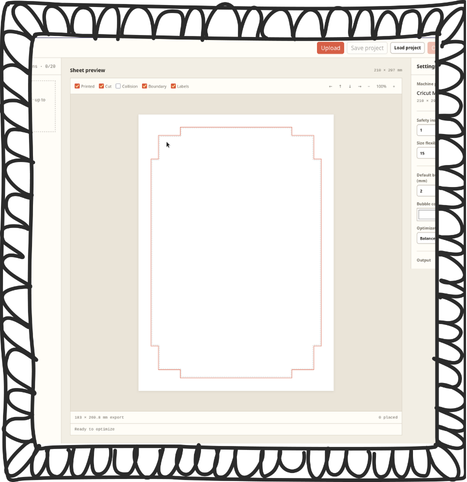
Introducing the very creatively named "Sticker Layout" tool. It's a web based tool where you can upload up to 25 different graphics which are then placed on a print and cut compatible space; you can then "Optimize" (as a British person, this word is spelt wrong, but last time I made something with the British spelling I got countless emails telling me about the typo; so...).
When you optimize it sends of a dedicated working running on jagua_rs to attempt thousands of different orientations and alignments until a set cut off time (you can pick fast, standard, balanced or quality, with each step of level likely netting a few percentage points better yield). If you want to go down a rabbit hole, then the research paper this is based on is a great read: https://pubsonline.informs.org/doi/10.1287/ijoc.2024.1025; it made me feel quite stupid!
Once you have uploaded graphics you can specify how many copies you want and then when using physical size of auto it will try to place these on the print and cut layout to produce the largest stickers that match the quantity you want. It does this in two jobs, firstly it tries a rough best fit, then it does the packing, and then does another round of trying to see if it can enlarge them at all any further. You can also specify a fixed size if you want (while giving the system a degree of % change it can make if it produces much better results)
With the tool you can create bubbles around the stickers, which obviously works best for transparent graphics. For complex shapes it reduces the complexity down slightly so on very very rare events they might overlap, but I've not had a case that has happened to yet. Once you've got an optimized result you can simply export and get a PNG you can import into design space which should fit the print and cut dimensions.